A gravel path looks effortless when it is done well, which is exactly why so many of them are not. The stone gets kicked into the borders, the edging slumps, and by the second summer you are pulling bittercress out of it every time you walk past. Almost all of it comes down to what happens before the first barrow of gravel goes down: the digging, the edging and the membrane. Get those three right and the path will sit quietly for years.
Start With the Route and the Finished Level
Mark the route with pegs and a taut line, or a hosepipe if it curves. Gentle curves are easy; tight, fussy ones are not, and rigid edging will fight you the whole way round. Width matters too. Around 900mm is comfortable for one person, while 1.2m lets two people pass or a wheelbarrow turn without scraping the edges.
Then decide where the surface will sit and work downwards. On firm ground, allow roughly 40–50mm of gravel over a geotextile membrane, with 75–100mm of compacted sub-base beneath that where the soil is clay or soft. A light footpath on sandy, well-drained ground may manage with less, but anything taking regular traffic will be better for having it. Set a slight crossfall of about 1:60 so water runs off rather than pooling, and direct it away from the house. Leave a gap below door thresholds unless you enjoy a wet sill.
Excavate and Build the Base
Strip the topsoil first and stack it on a tarpaulin — it is useful for borders and saves buying it back later. Dig in two passes: skim the turf and rooty layer, then take out the rest to your formation level, checking depth against a line stretched across the path.
Now the sub-base. MOT Type 1 or similar crushed stone, raked to about 75mm and compacted with a whacker plate or hand tamper. On soft ground, do it in two thinner layers rather than one thick one; each compacts better and the finish ends up flatter. Check the fall as you go with a spirit level on a straight edge.
Before you dig, think about what is buried out there. Water mains, drainage runs and armoured cable to a shed or garden lighting all sit at spade depth more often than people expect. If you are unsure, check your property's service plans or bring in someone to trace them.
Edge It Before You Fill It
Edging keeps gravel where you put it, and gives the path a crisp line — which matters more than the stone itself. Fit it before the membrane, set slightly proud of the finished surface (5–10mm is about right) so gravel does not spill into the borders.
- Tanalised timber — cheap and quick, but it will rot eventually. Fine for a path you may rework.
- Plastic or composite edging strip — flexible, good on curves, pinned with stakes.
- Steel or aluminium edging — slim and long-lasting, more expensive, superb in contemporary gardens.
- Brick, block or setts — bed them on concrete and haunch behind, and they will outlast everything else here.
- Reclaimed sleepers — heavy, but they double as informal seating along a wide path.
A strip of edging pushed into bare soil will move within a season. The same strip on a mortar or concrete bed, with a haunch on the outside, will not.
Membrane: Buy the Right Stuff
Use a woven geotextile, the sort sold for driveways and paths. The thin black sheet sold cheaply for beds tears under gravel and lets roots straight through. Overlap the joins by 100–150mm, turn the edges up against the edging, and cut a cross rather than a slit wherever a plant comes through.
Solid plastic sheeting is a false economy. It traps water, and a path holding water beneath the stone will puddle, shift and grow algae. You want something that blocks light and roots while still draining.
Be realistic about what a membrane does. It stops weeds coming up from below; it does not stop seeds landing on top. Gravel under a sycamore, or beside a bird feeder, will still sprout. That is a surface problem, not a membrane problem.
Choose Gravel That Stays Put
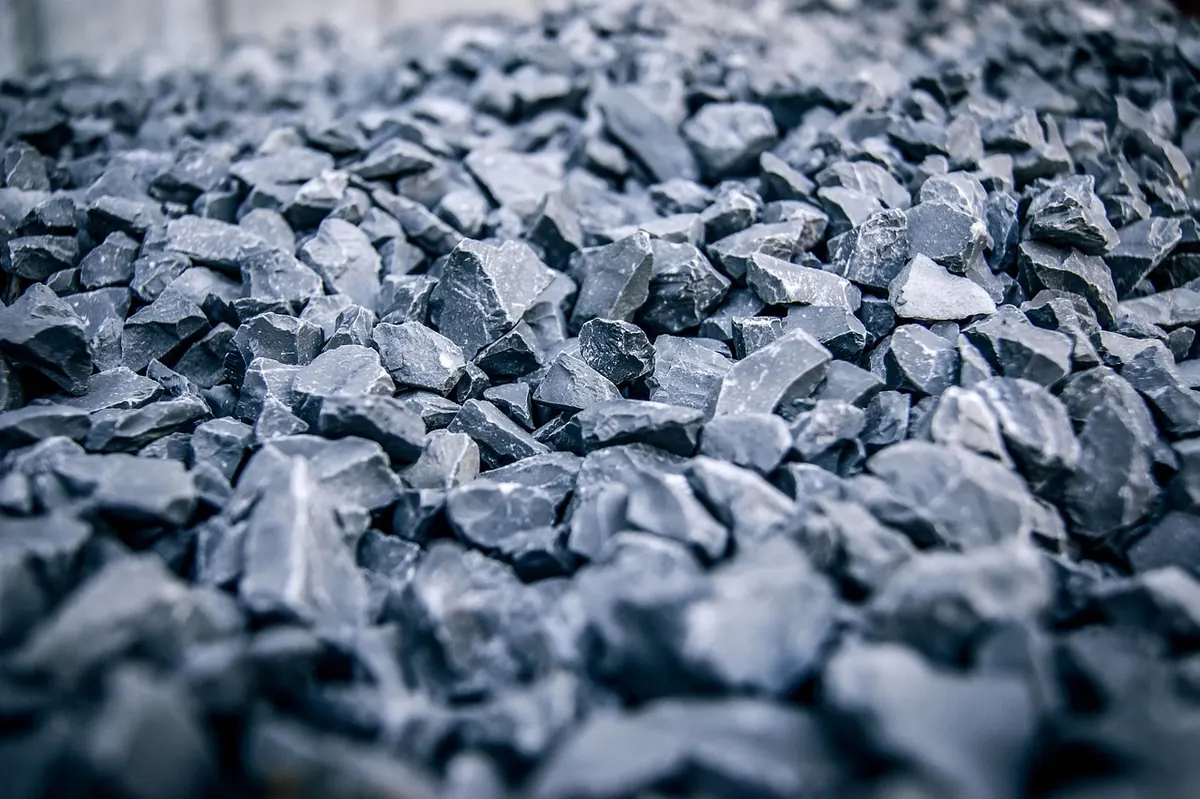
Angular, single-size stone between about 10mm and 20mm is the reliable choice. The irregular faces lock together underfoot, so it stays where it is spread, even on a gentle slope. Rounded pea gravel is pleasant under bare feet but it rolls — on a slope it migrates downhill and gathers at the low end, and it is harder to walk on than people expect.
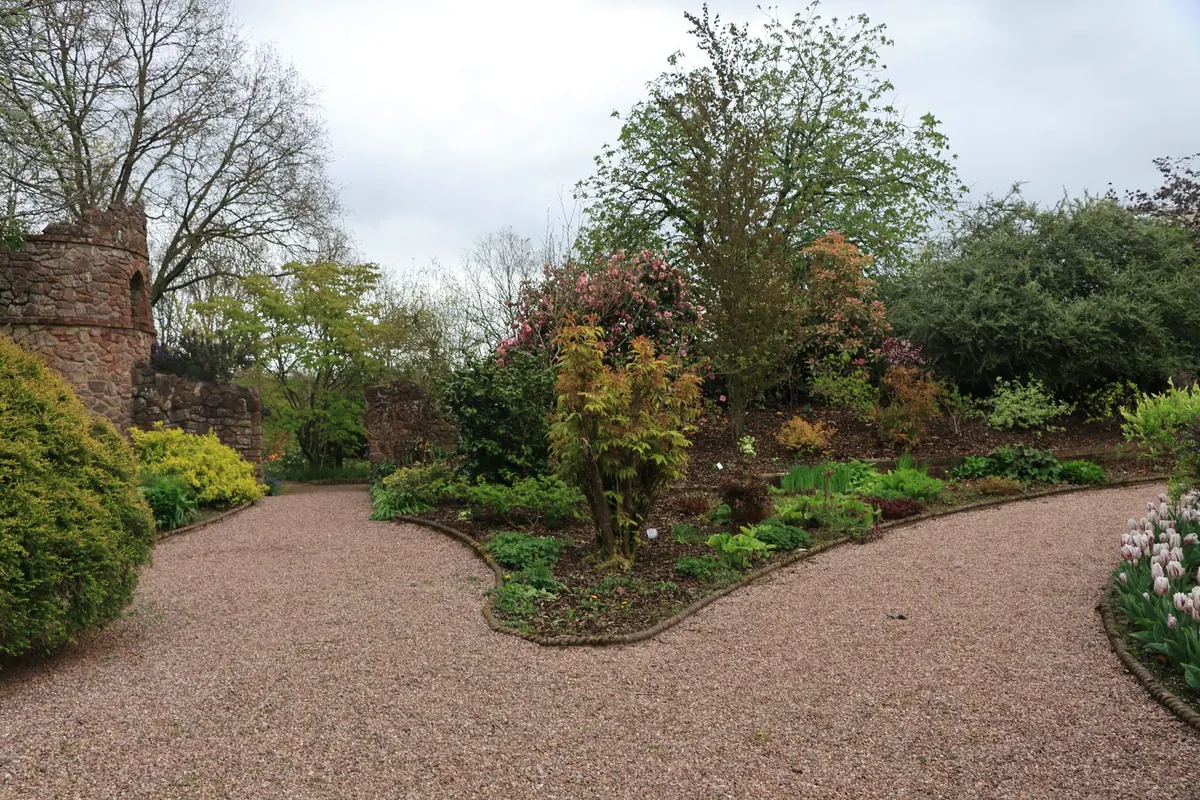
Pick a colour that sits with the house and the surrounding stone. Local aggregate — Cotswold buff, Derbyshire grey, Welsh slate — usually looks more settled in a British garden than a bright imported stone. Buy a small quantity first and look at it wet as well as dry, because gravel changes colour noticeably in the rain.
Ask your supplier for coverage figures for the specific stone, since density varies
Photo: Jan Wright / Pexels