Most patio problems are not the stone's fault. They are decided weeks earlier, when the only thing on your mind is a delivery date and whether the skip will fit on the drive. Order the wrong quantity, skip the compaction, or point with the wrong product, and good paving will look tired within a couple of winters. These are the mistakes that come up again and again on British patios, and how to avoid them before the pallets arrive.
Treating the sub-base as an afterthought
The sub-base is the part nobody photographs and the part that decides everything. Dig out enough depth to fit the whole build-up: paving thickness, bedding layer, and sub-base. For a patio used on foot, allow at least 100mm of compacted MOT Type 1 stone. If a car, a ride-on mower or a hot tub might ever sit on it, go deeper — 150mm or more — and consider what the ground beneath can actually carry.
Builder's rubble, old bricks and soil are not a sub-base. They settle unevenly and leave voids that show up months later as rocking slabs and cracked joints. Use clean, graded Type 1, lay it in layers of around 50–75mm, and compact each layer with a plate compactor before adding the next. On soft clay, a geotextile membrane underneath stops the stone migrating downwards into the soil.
Also get the sub-base roughly to level. A 40mm error here cannot be corrected in a 30mm bedding layer — trying to do so is how you end up with slabs sitting on high spots and hollows underneath.
Forgetting that the edges hold everything together
A patio is a bit like a jigsaw: the outer pieces keep the middle in place. Without a proper edge restraint, paving creeps outwards, joints open, and jointing material washes away in the first hard rain.
Either use a solid kerb or edging bedded and haunched in concrete, or a rigid edging set on mortar. Haunching means packing concrete against the outside face to roughly a third of the edging's height. It is worth doing properly on any patio that will be walked on, leaned against, or driven over at the corner.
Getting the bedding and jointing wrong
The bedding layer
For block paving, the bedding sand should be sharp or grit sand, screeded to a consistent 30mm or so, and left loose for the blocks to be tapped into. Dumping it in heaps and shuffling it about with a rake gives you a wavy surface and inconsistent joints.
For natural stone and concrete flags, a full mortar bed is the reliable route. Five blobs of mortar under each slab may feel quick, but it leaves unsupported corners, and unsupported corners crack. If you are bedding onto a rigid base, work in small batches so the mortar does not go off before the slab is down and levelled.
Jointing
Jointing is where a lot of patios fail, because it looks like the easy part.
- Kiln-dried sand is for block paving only, brushed in dry and topped up. It is not a joint for sawn stone flags.
- Mortar pointing suits natural stone and flags, but must be packed into a raked-out joint and tooled, not smeared over the face of the paving.
- Resin and polymeric jointing compounds work well but demand dry conditions, the correct joint depth and width, and a bit of patience. Read the tub before you buy the tub.
Whatever you choose, do not point in frost, in heavy rain, or onto a bedding layer that has not set. Come back another day.
Losing control of levels and falls
Water has to go somewhere, and it should not be towards the house. A fall of roughly 1:80 — around 12mm per metre — away from the building is the usual guidance for paving, with the finished patio level sitting comfortably below the damp-proof course. The common rule of thumb is a good 150mm below the DPC, which is about two brick courses.
Set your falls before you lay anything, using a string line or laser, and think about where water will gather. A patio that is dead flat, or that falls into a corner against a wall, will pool, grow algae, stain, and turn slick underfoot in winter. On larger patios you may need cross falls, or a channel drain, so plan that in at the start rather than cutting paving later.
Ordering stone by eye
Under-ordering is the mistake that costs the most, because a second delivery for six square metres is rarely cheap and the new batch may not match the first. Measure properly, sketch the shape, and break awkward areas into rectangles. Then add for cuts and breakages.
- Measure the finished area, not the excavated area.
- Add 10% for simple layouts, and 15% or more for diagonal or curved patterns where cuts are heavy.
- Allow for joint widths if the paving is being laid with wide joints — they add up over a large patio.
- Include edging or kerbs, sub-base, bedding sand, cement, and jointing compound on the same order.
- Buy all the paving in one batch where you can, so the colour and texture are consistent.
- Check access before delivery. Pallet trucks and lorries need space, and many suppliers deliver kerbside, not to the back garden.
Sawn and honed stone often arrives with a protective face; check how it should be stored and whether offcuts can be kept for future repairs.
Picking the wrong stone for the spot
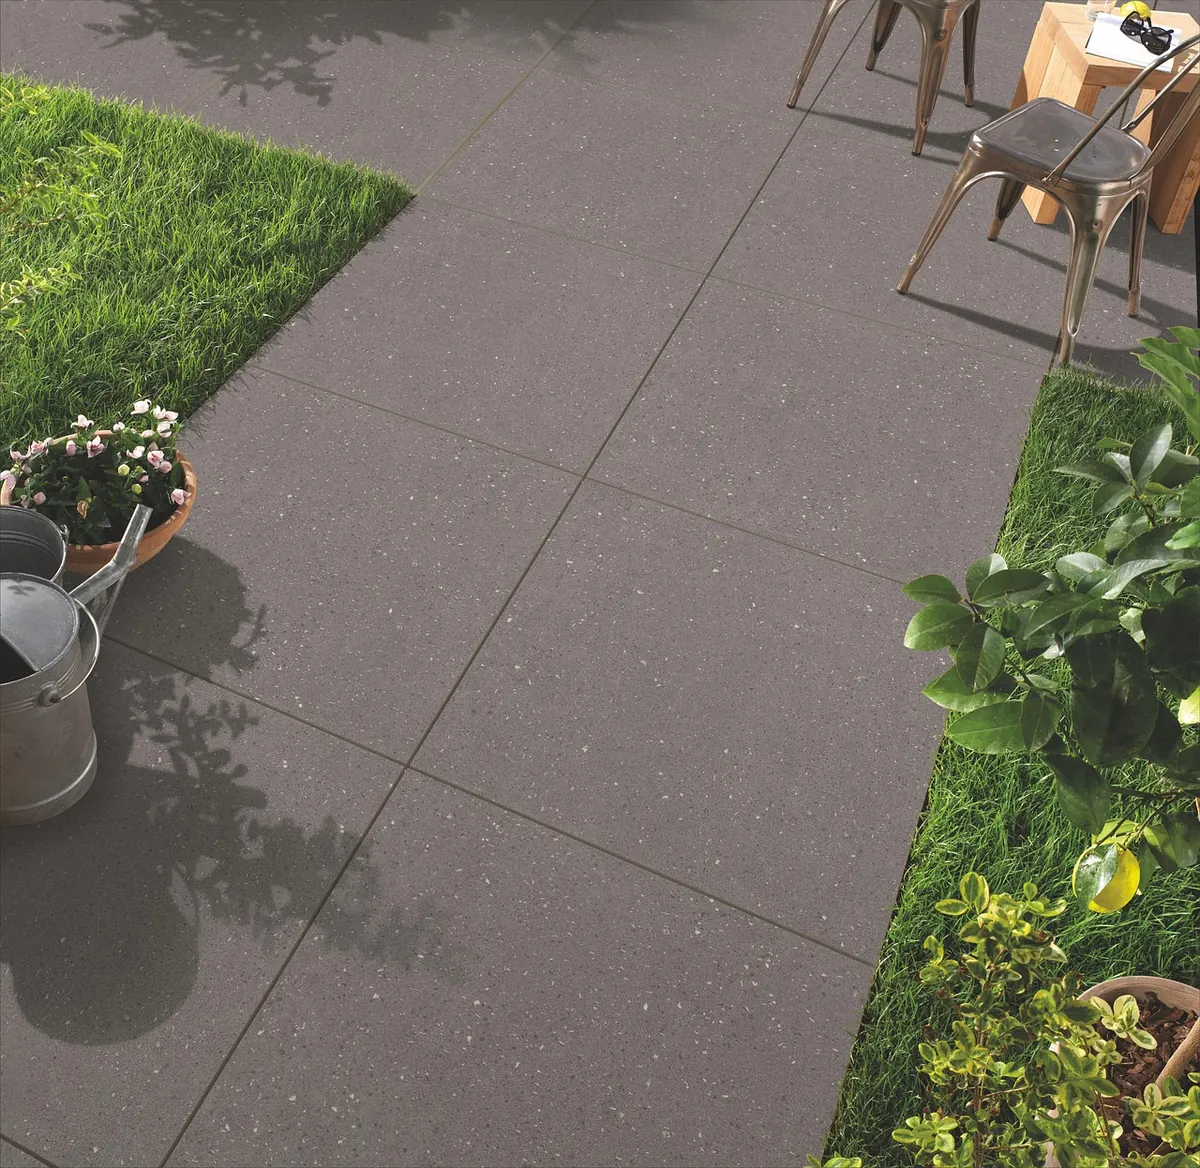
Shade, slope and use matter as much as appearance. A north-facing patio under trees will stay damp and grow algae, so a riven or very smooth surface may become genuinely slippery. Pale stone in full sun stays cooler underfoot; dark stone absorbs heat and shows dust. Porcelain is dense and low-maintenance but still needs a sound base. Indian sandstone is forgiving to lay but varies in thickness and colour, so order a little extra and expect variation.
Do the boring bits properly
Dig deeper than you think you need to, compact in layers, restrain the edges, set one clear fall away from the house, and order around 10% more stone than the plan says. None of it is glamorous, and none of it will be visible when you are sitting out with a cup of tea. It is simply what separates a patio that lasts from one that needs lifting in three years.
If the work involves retaining walls, drainage, changes in ground level near a building, or anything close to a boundary, it is worth speaking to a qualified landscaper, drainage engineer or your local building control team before you dig. A short conversation now is cheaper than remedial work later.
Photo: 14398 / Pixabay