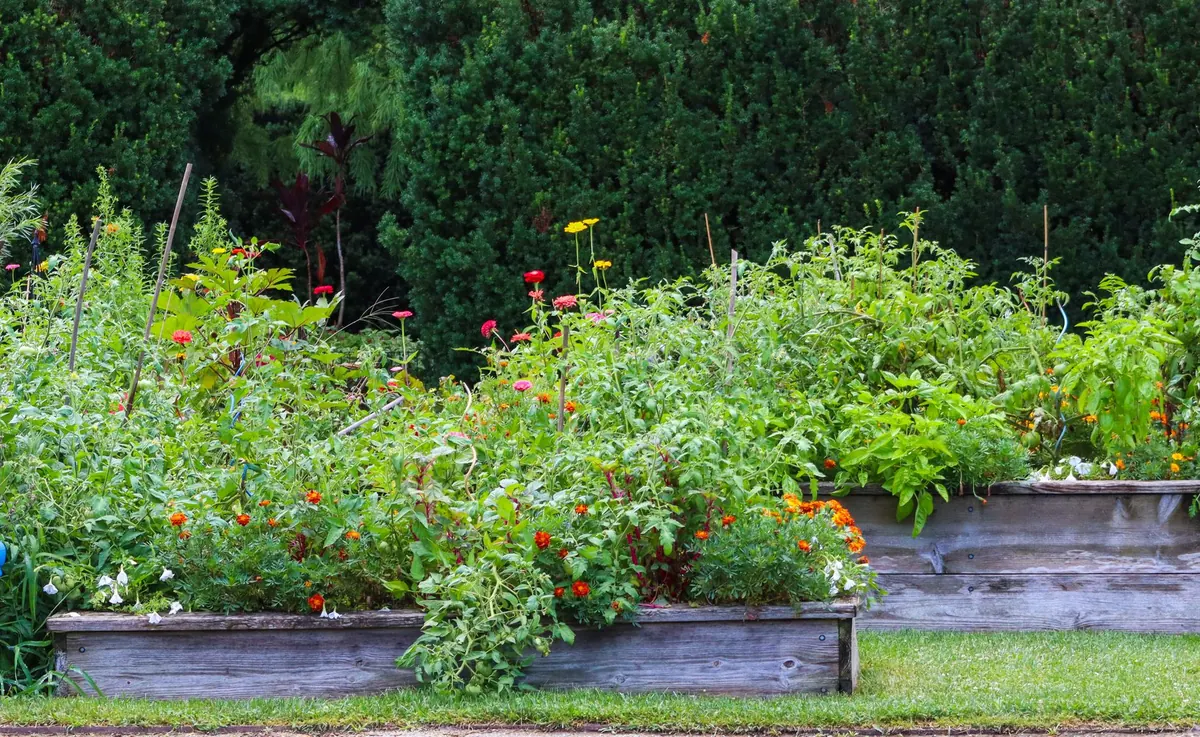
Timber sleepers make a raised planter that looks settled rather than new, holds its shape for years and takes an afternoon to build. They are heavy enough to stay put without mortar, chunky enough to double as a bench edge, and forgiving of the odd inaccurate cut. Get the base level, line the timber sensibly, sort out drainage, and you have a bed that will crop for a decade or more.
Choosing the Right Sleepers
New softwood sleepers, usually sold in 2.4m lengths at around 200mm x 100mm, are the straightforward choice. They are pressure-treated, consistent in size and light enough for two people to move without a struggle. Oak sleepers cost more, weather to a lovely silver-grey and last longer, but they are brutally heavy — plan how you will get them to the site before you order.
Reclaimed railway sleepers are a different matter. Many were treated decades ago with creosote or heavy oils, and the black, tarry sort should not be used for beds growing food. If you are set on reclaimed timber, ask what it was treated with and keep it for ornamentals, or use a generous liner inside so roots never touch the wood.
If you plan to grow anything edible, choose new sleepers rated for garden use rather than old railway stock. It is the simplest way to avoid any doubt about what the timber was soaked in.
Planning Size, Depth and Position
Depth matters more than length. Around 200mm suits salads, herbs, strawberries and most annuals. For carrots, beetroot, chard, potatoes or courgettes, aim for 300–400mm so roots and tubers have room. Two courses of sleepers laid flat gives roughly 200mm; three gives about 300mm; laying them on edge gets you deep quickly but needs more bracing.
Keep the width to about 1.2m if you need to reach in from both sides, or 600mm if it sits against a wall. For length, remember that a 2.4m sleeper cut in half gives two usable 1.2m pieces — useful for ends and for keeping waste down.
Siting is simple: most vegetables and herbs want sun for at least six hours a day, so avoid the shadow of a fence or shed. Put the planter within reach of a tap, because a raised bed dries out faster than open ground. Leave a gap from fence panels and walls so you can inspect the timber and keep air moving; if you are attaching anything to a boundary, check whose fence it is and ask first.
Tools and Materials
- Sleepers, cut to your plan list
- Spirit level, tape measure, string line and a set square
- Circular saw or handsaw, plus a drill and long auger bit
- Timber screws (around 150–200mm) or steel rebar pins
- Mallet, spade, and a rake for levelling
- Sharp sand or MOT Type 1 for the base
- Gravel or rubble, plus landscape fabric for drainage
- Damp-proof course membrane, heavy-duty polythene or butyl pond liner
- Gloves, eye protection and a dust mask for cutting
Check whether your chosen preservative or stain is safe for edible crops, and let any fresh treatment weather before filling. If you are unsure about a product, ask the supplier directly.
Preparing the Ground and Building the Frame
Step 1: Level the base
Mark the footprint with string, strip any turf and dig out about 50mm. Fill with sharp sand or Type 1 and compact it. A slight fall is fine for drainage, but it should be no more than a few millimetres across the whole bed.
Step 2: Lay the first course
Set the sleepers in place and check them for level in both directions. Small adjustments go under the timber, not on top. Nudge them into line with the mallet.
Step 3: Fix the corners
Drill pilot holes slightly narrower than your screws to stop the timber splitting, then drive two screws into each corner. Overlap alternate corners like brickwork so the joints do not all sit in one line. Long beds of 2.4m or more benefit from a hidden brace or a rebar pin through the middle courses.
Step 4: Add the second and third courses
Stagger the joints and check level again after each course. For hidden fixings, hold the sleeper in position with a spare offcut clamped to the outside while you drill and screw through from the inside.
Step 5: Cap the top if you like
A wider capping sleeper makes a comfortable perch for sitting and holding a mug, and it protects the end grain. Leave a tiny overhang so water drips clear of the sides.
Lining and Drainage
Lining does two jobs: it keeps damp soil away from the timber and it slows the slow rot that eventually takes every planter. The trick is to line the sides but leave water a clear route out. Line the inside with damp-proof membrane or butyl, tuck it over the top edge and trim it just below the capping. Do not seal the base — a fully sealed box becomes a bog in a wet winter.
Put 50mm of gravel or rubble in the bottom, cover it with landscape fabric to stop soil silting it up, and drill a few drainage holes through the liner at the lowest point if you have used a continuous sheet. Then fill.
Filling and Planting
Use a mix of roughly 70 per cent topsoil to 30 per cent peat-free compost, with a handful of grit for heavy clay soil. For a small planter, straight peat-free multipurpose compost is fine. Fill to about 25mm below the rim so there is room to water without it running off, then water well and let it settle before topping up.
Plant in layers: taller, sprawling crops such as tomatoes, courgettes or climbing beans towards the back or centre, lower herbs and salads at the front. Quick crops like rocket, radish and cut-and-come-again lettuce are ideal for a first season while you learn how the bed dries out.
Aftercare is mostly about water. Raised beds dry faster than open ground, so check the top 50mm with a finger before watering, and water deeply rather than little and often. Feed hungry crops such as tomatoes weekly, mulch the surface in summer, and inspect the liner and timber each spring, replacing any soft sections before they spread.
Getting the Most From Your Planter
Build it level, keep the drainage honest and choose sleepers you are happy to grow food in. From there the planter looks after itself: a sturdy frame, a bit of annual attention and a rotation of crops will keep it productive for years. Start with two or three courses, get the lining right, and you will have a bed worth repeating along the garden.
Photo: Karen F / Pexels